Setting Up Digital Keytags

For front desk check-ins you will need:
- Any approved QR code-reading barcode scanner.
- USB scanner cable (if applicable).
- Front desk check-in computer with Windows and the latest version of Insight Access installed.
For 24-hour access door controller systems you will need:
- An approved all-weather, panel-mounting, QR code-reading barcode scanner (please contact us to pre-order now! Professional installation required).
- A door controller (please contact us to order; professional installation required).
- A check-in computer with Windows and the latest update of Insight Access installed.
Set-Up
1. Contact us to turn on Digital Keytags for your location by emailing us at [email protected] or by sending us feedback.
2. Download the latest version of Insight Access and set up your access controller.
Here are the steps for setting up Insight Access and access controllers.
- First, set up Insight Access.
- If you have any previous versions of Insight Access installed, Uninstall it first.
-
Select your location, then click Applications.

Select Insight Access.

- Under available applications, find Insight Access and click download.


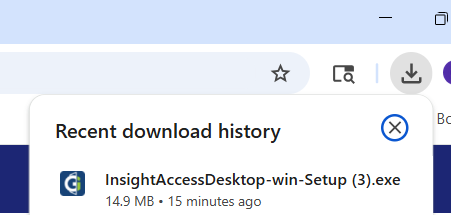
- Download setup.exe to your Desktop.
- Open setup.exe.
-
Find your Downloads and click on the file.

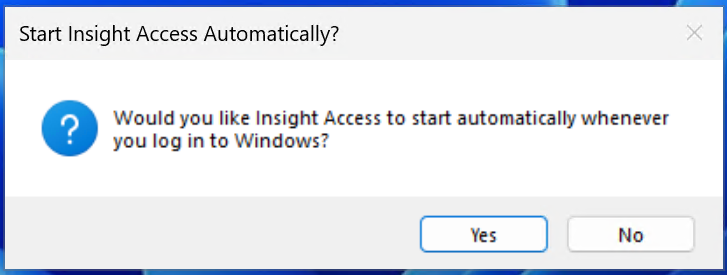
- Select Install/Yes to ALL dialog window boxes shown during this process: The system will take a moment to load.

- You can see the Insight Access icon on the bottom of your screen. If you right click on it, you will see a menu with options.
- Drag Insight Access services icon down to dock (from drop arrow in bottom right corner)

The taskbar icon should have a green dot. A green dot indicates all systems functioning, the Windows service is running, and all configured doors are up and running.

Congratulations! You have successfully installed or upgraded Insight Access.
- Now, set up your scanner.
- To set up your Front Desk check-in scanner:
- Go to Settings > Add Access Controller.
- Click New Device.
- To set up your Front Desk check-in scanner:

- Ensure scanner is plugged in. (Note: This configuration will be specific to the USB port being used.)
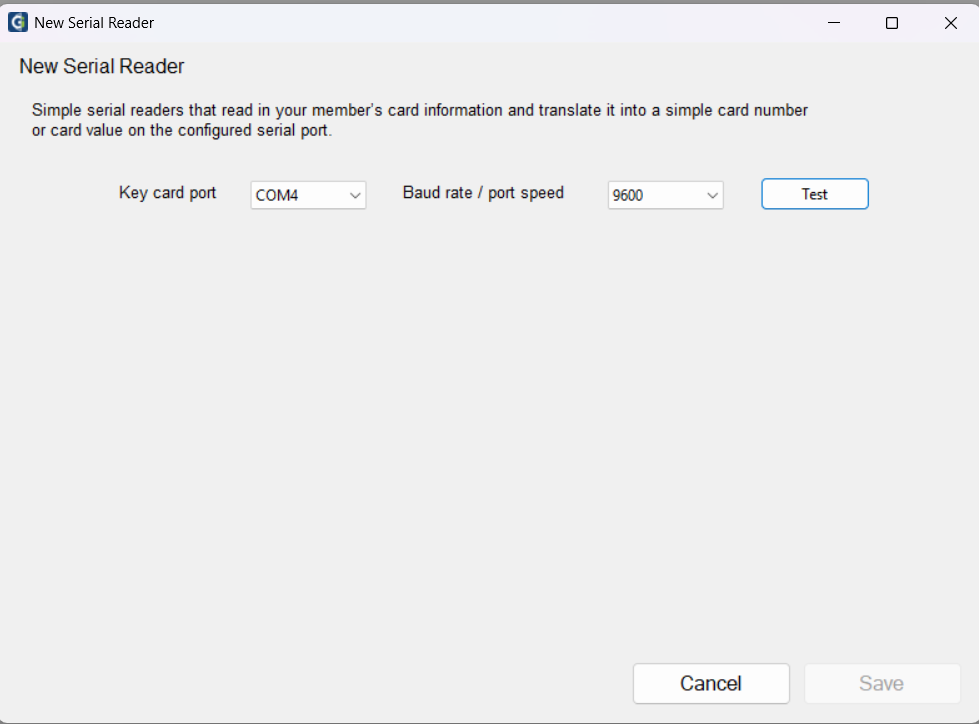
- Select Serial Reader (note: this option is not for door controllers).

-
Click Test. (Note: The name of the Key card port, e.g., COM5, COM6, is specific to each USB port, so plugging the scanner into different USB ports may cause it to not be recognized.)
-
You may test scanning digital keytags and barcodes and numbers will show up.
-
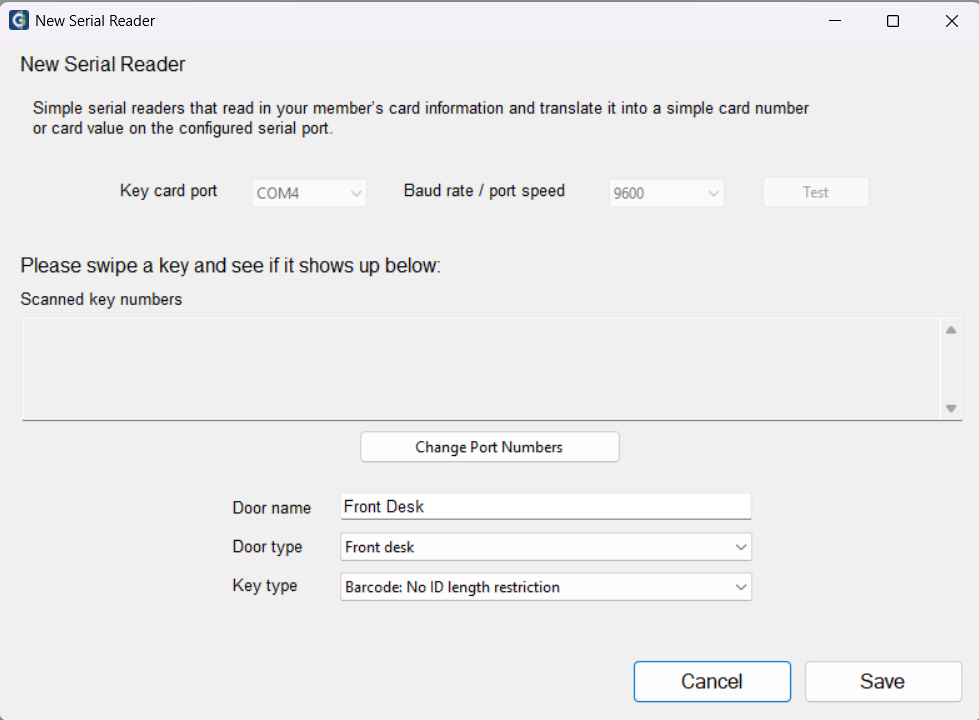
Choose a Door name (Front Desk) and Door Type (Front Desk). Ensure Key type is Barcode.
- Click Save.
- To set up your Door Controller scanner:
- Go to Settings > Add Access Controller.
- Click New Device.
- Select Serial Device Server.
-
Enter the IP address of the door controller. (For more on this, see How Do I Find My IP Settings?)

-
You may test scanning digital keytags and barcodes.

-
Enter a name for your door (Member Door) and Door type.

- Click Save.


Now we can Enable Digital Keytags in Members App.
-
Select your location, then click Applications.
-
Select Members App.

-
Under Settings, click Enable Digital Keytags.


You can now scan your QR codes and barcodes and make sure they are working properly. Please call customer support if you have any trouble with this.
1-855-367-4967